
Ultimate Updated on March 21, 2023
Are you aware in 2018, the EPA estimated 13 million tons of garments and footwear was produced? Of that, it’s estimated that the amount of garments and footwear recycled was just one.7 million tons. The rest was landfilled or combusted with energy restoration.
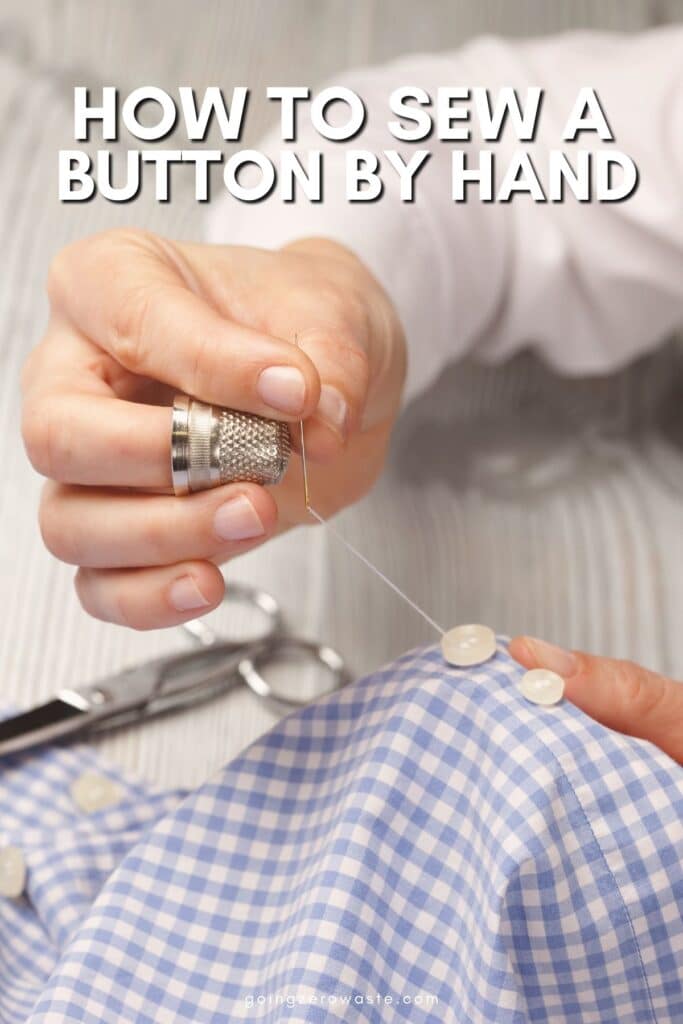
The rationale these stats matter is because of numerous the clothes we’re tossing out could also be repaired. As an example, when you’ve got a missing button in your favorite shirt, you could merely uncover methods to stitch a button, in its place of adjusting it.
Sadly, many people don’t know how one can restore their objects because of clever promoting methods designed to promote disposability.
Fast type is a big part of this: They pump out low prime quality objects at extreme parts that merely rip or tear, or simply get outdated by new traits. It’s known as “deliberate obsolescence”, aka producing shopper objects that shortly grow to be old-fashioned and require altering.
Nonetheless, learning some easy fixes in your clothes can also assist lengthen their life, maintain them out of landfill, and break the mass consumption cycle. Proper right here’s how one can sew a button, and one other easy fixes in your garments.
how one can mend your garments
Mending your garments is among the many most zero waste experience you could examine. That’s because of after we mend a garments piece, it prolongs the garment’s life. This retains it out of the landfill and avoids having to modify it, which saves belongings.
To repair your clothes, it’s best to have a sewing machine or a sewing gear useful. For the sake of simplicity, loads of the tutorials beneath could also be completed by hand.
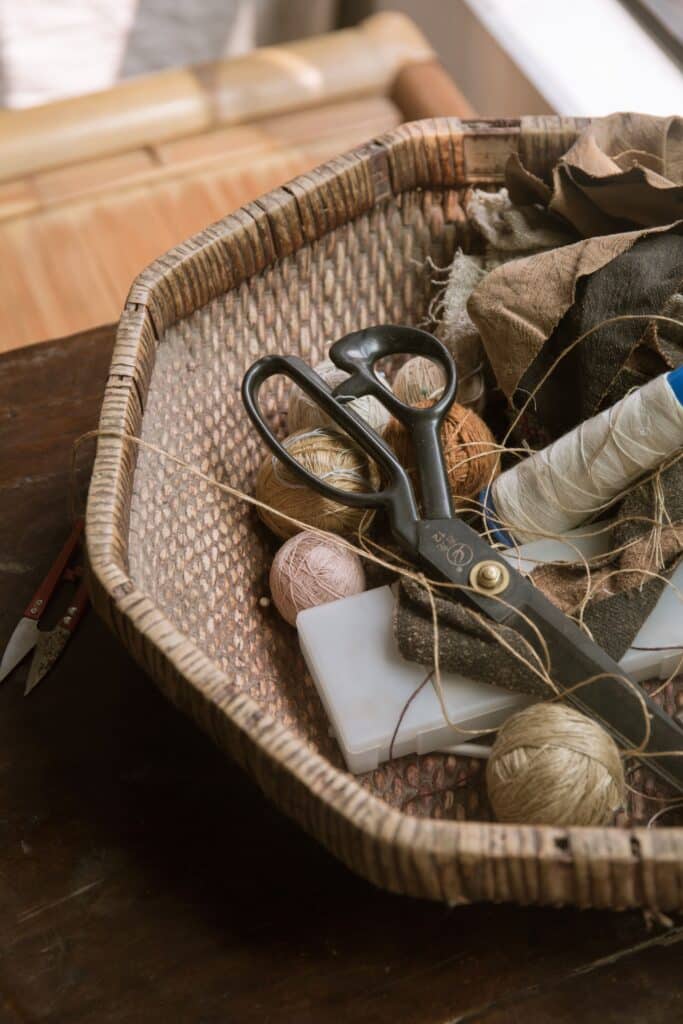
I like to recommend going to a craft retailer to pick up some gives, or checking in case you’ll be able to borrow any mending gives from a preferred one. Chances are your grandmother may have a pleasing stash of sewing gives you could borrow from.
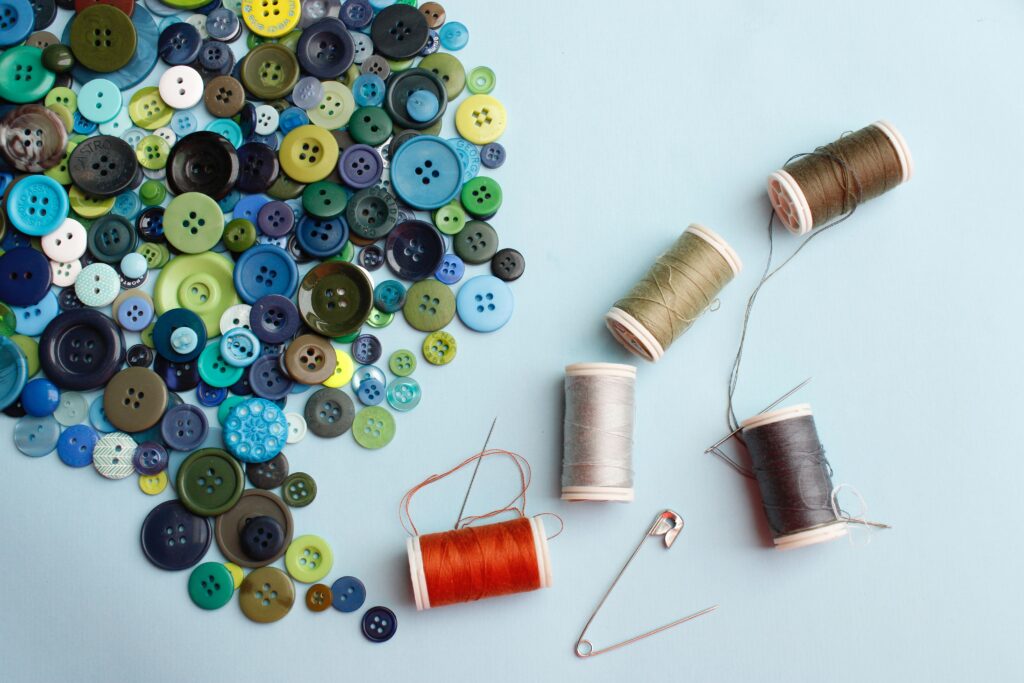
Listed beneath are some mending gives it’s best to carry out there:
- Quite a few buttons
- Stitching needles
- Stitching thread
- Darning mushroom
- Scissors
- Blended materials objects
- Ruler
- Pins
- Seam ripper
- Embroidery thread
You might retailer all of these in an upcycled tin, glass jar or container of your various. One factor small and portable is sweet for on the go mends.
By investing in your wardrobe, you will assure your favorite objects final extra. It’s a radical act of care in a fast type system that thrives on disposal custom.
For additional mending ideas, make certain to try my weblog submit 4 Points You Should Know Tips about the way to Restore.
how do you hand sew a button step-by-step?
At hand sew a button step-by-step, you will first need to gather some gives. It’s moreover good to place apart some time so that you simply don’t ought to rush.
Provides wished:
- Button
- Needle
- Thread
- Scissors
- Straight pin or toothpick
Directions:
1. Select a suitable thread and button in your garments. Take a look at to see if extra buttons received right here alongside together with your garment first.
2. Cut back a suitable measurement of thread with scissors. 12-18inches is usually ample. Thread and by no means needle.
3. First off, in case you’re altering a button, seek for tiny holes left by the sooner button. Put your new button there. Place the button and confirm to confirm it aligns with buttonhole.
4. Make your first sew by inserting the needle into the once more of the fabric (the place the knotted end gained’t current) and via certainly one of many holes inside the button. It’s best to positively pull the thread completely by means of on each sew to take care of it from bunching up.
5. Take a pin or a toothpick and center it on excessive of the button. For now, preserve the pin in place alongside together with your finger.
6. Insert the needle by means of the next hole, into the fabric, and through. This sew will now preserve the pin in place.
7. Insert the needle once more up by means of the fabric and into the first hole. If in case you’ve got a four-hole button, sew up by means of a model new hole. The thread will look type of like an “X”. Pull the thread completely by means of.
8. Protect repeating these stitches until the button is protected. This generally takes 8 full stitches.
9. In your last sew, end with a double knot of the once more side of the fabric.
10. Cut back the excess thread and take away the pin. Gently pull up on the button to create home for the fabric.
how prolonged does it take to sew a button?
It doesn’t take prolonged to sew a button. While you observe the simple steps listed above, you’ll be succesful to stitch your button in ten minutes or a lot much less.
5 totally different mending methods it’s best to know
Alongside how one can sew a button, there are one other easy fixes in your garments it’s best to examine. Understanding anyone amongst these can also assist salvage a garment.
sew a hem
Heming is an efficient strategy to shorten shirts, garments and pants which may be too prolonged. Hems moreover preserve our garments collectively, in order that they’re important measures of a garment’s sturdiness (you’ll uncover them most on pants).
A hem always consists of the equivalent three elements: An edge, hem line, and hem allowance.
directions:
- Iron the garment you need to hem to remove any bumps or creases.
- Measure the hem line (that’s biggest completed by carrying the garment, standing in entrance of a mirror, and deciding the place you’d just like the model new hem to fall. Mark the elements with chalk or pins.
- Trim the fabric to a suitable measurement beneath the pin or chalk line you created. There should be ample materials left to accommodate the hem depth. Ex: You want a 1 inch deep hem, so depart 1 inch of fabric beneath the hemline. This may assure nothing appears cumbersome.
- Fold the hem. You too can make a single fold alongside the hemline, flawed side to flawed side. The flawed side is the “inside” of the garment (aka the side you don’t see).
- Choose your sew pattern. A whipstitch is sweet in case you don’t have an entire lot of time, nonetheless it’s the least sturdy. A catch sew is sweet for elasticity and energy. It’s a slight crisscross impression on the flawed side, virtually invisible on the suitable side. A slip sew hem is biggest for near invisibility. Ultimate nonetheless not least, a fell sew is biggest for durability. Take a look at beneath to find methods to do all of these stitches individually.
- Now sew the hem by measuring and slicing your thread. The scale you make the most of relies upon upon the circumference of the hem, nonetheless it’s always increased to have an extreme quantity of thread than too little. Normally, try to make use of spherical 18 inches (46 cm), or an arm-length of thread. Moreover, choose a thread color that matches the garment’s color.
- Thread a small needle and tie a knot on the totally different end of the thread. Flip your garment wrong-side out. Work with the hemline going by means of in route of you.
- Start with a tiny sew on the seam line on the flawed side of the hem. You’re bringing the needle up from behind the upper fringe of the hem fold. Do not go this sew by means of to the suitable side of the garment.
- Make your sew pattern. Protect stitching spherical, working from correct to left, or left to correct. Make small, evenly-spaced stitches.
- Knot the thread on the end of stitching the hem. Make a small sew twice within the equivalent place on the sting of the hem fold as your first sew, nonetheless for this last sew, do not pull the thread throughout. Transfer the needle by means of the loop twice, then tighten the knot by pulling on the thread.
choose your sew pattern:
Step 5 inside the tutorial above asks you to resolve on a sew pattern. Listed beneath are these I listed and the way you are able to do them intimately. Choose whichever most precisely matches your desires.
whipstitch:
- Conceal your thread knot and convey the thread from the inside by means of the pores and skin of the hem fold.
- Transferring from correct to left (or left to correct in case you’re left-handed), cross over diagonally and select up a lot of threads of the fabric above the fold. Protect the needle pointed inside the route throughout which you’re working.
- Carry the needle once more out by means of the fold and repeat.
catch sew:
- Conceal the knot by pulling the needle outwards by means of the fold.
- Degree the needle within the different method from the one throughout which you’re working. Determine up a lot of threads of the fabric merely above the hem and pull by means of.
- Now select up a bit of fabric from the hem and pull by means of, with the needle nonetheless going by means of within the different method, and repeat.
slip sew:
- Conceal the knot by pulling the needle outwards by means of hem, correct on the very fringe of the fabric.
- Throughout the materials merely above the hem, select up a lot of threads and pull the needle by means of.
- Reinsert the needle into the sting of the fold, barely beneath the place the sooner sew ended. Pull it by means of the sting of the hem about 1/4 inches (7mm), as in case you had been pulling it by means of a tube of fabric, after which outwards.
- Repeat the first three steps.
fell sew:
- Conceal the knot by passing the needle outward by means of the upper fringe of the hem fold.
- Transfer the needle by means of the fabric above the hem edge, about 1/4-1/2 inch (6-13 mm) prolonged. Full the sew by passing the needle by means of a lot of threads of the very best of the hem fold.
- Start your subsequent sew inside the materials correct above the tip of the sooner one and repeat.
restore a seam
Do you’ve got received a ripped seam? Proper right here’s what you’ll should restore it.
provides wished:
- Ripped garment
- Seam Ripper
- Scissors
- Pins
- Needle
- Matching thread
- Iron
directions:
- Flip your garment inside out and study the ripped seam. Remember the place the ripped seam begins and ends. This may be the place it is good to resew the seam to revive it.
- If there are any free stitches, use your seam ripper to remove them. Merely gently info the sharp end of your seam ripper beneath a sew and pull upward.
- Tie any free threads you’ve got received. Use your scissors to cut correct above the knot to get rid of additional thread. Repeat on the alternative side of the ripped seam.
- Using stitching pins, pin the two objects of fabric collectively the place the seam ripped. You can probably moreover press with the iron to get the fabric to place straight, nonetheless that’s non-compulsory.
- Take your needle and thread it. Knot the tip of the thread and snip the extra thread beneath it off with scissors.
- Insert the needle into the fabric about ½” sooner than the beginning of the ripped seam. Use a straight sew or a backstitch to begin stitching one different seam. Guarantee to not make your stitches too prolonged in any other case you would possibly be capable to nonetheless see a niche inside the seam everytime you placed on it.
- Use the straight or backstitch alongside the entire ripped seam until you’ve reached the tip. Then proceed making stitches about ½” into the current seam to protected it. Make sure you knot the thread and snip off any extra thread after your final sew. Don’t overlook to point out the garment inside out and overview your work sooner than carrying.

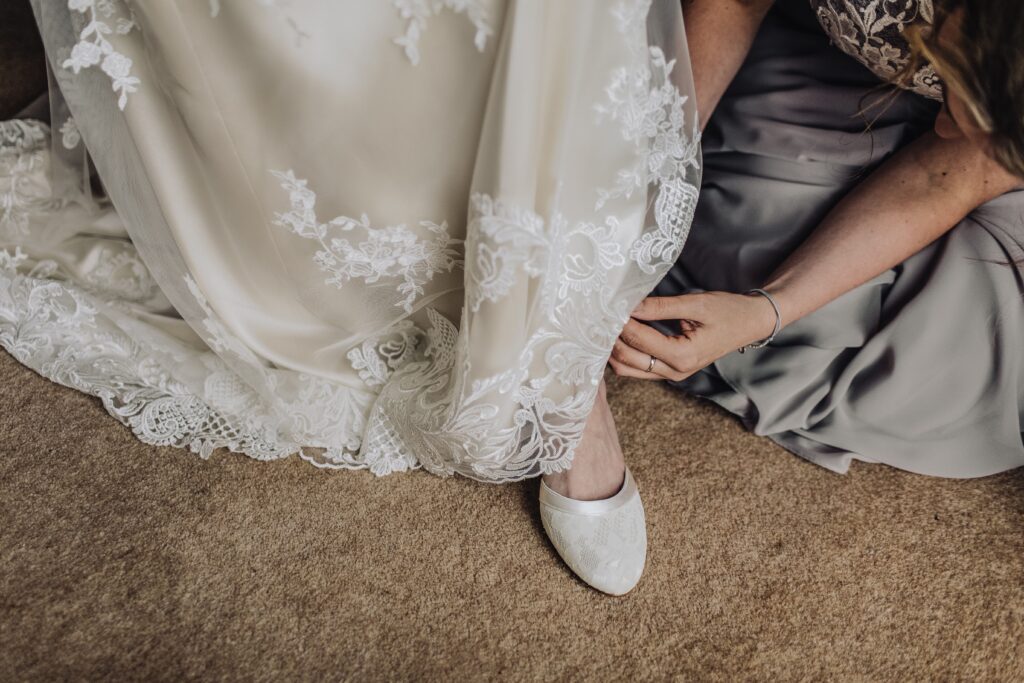
reattach a strap
Have a spaghetti strap that broke off? Proper right here’s how one can reattach it and save your tank tops and garments!
directions:
- First, uncover the place the place the strap has come free from. That’s the place you’ll should feed the tip of the strap once more by means of the opening. If that’s robust, use a safety pin to help info the strap once more by means of the opening.
- As quickly because it’s by means of to the inside of the garment, you’ll want to use the safety pin to pin the strap in place so that it doesn’t switch while you’re stitching.
- Take a look at the dimensions of the straps if you’ve pinned them to confirm they’re going to be the equivalent measurement. If not, modify the pin in order that they might be the same measurement sooner than you start stitching.
- Use a once more sew to protected the strap in place. Come up from the once more alongside together with your thread and convey the needle once more in route of your self, go into the fabric, after which ship the needle up ahead of the place the thread is coming out. Return and forward correct initially of the sooner sew.
- Increase up the going by means of to entry the world it is good to stitch the strap down. Take a bit of thread not than the dimensions of your arm, thread your needle, tie a knot on the end, and do your once more sew all through the street of stitching that was broken and via the strap as properly.
- When you’ve gone far ample, flip it spherical and return over these stitches as soon as extra. Take just a few very small stitches in place to protected the tip. Trim off your threads and likewise you’re completed.

change a drawstring
Did your drawstring fall out of your sweatpants? No need to swap your complete factor. Proper right here’s how one can restore it.
FYI, in case your drawstrings come out in the midst of the wash, try tying a knot on the end of each string. This may generally forestall it from coming out.
directions:
- All you need is a safety pin. Put the pin by means of the string shut to at least one end and pin it shut.
- Now, put your pin into the opening the place the drawstring goes.
- Gently feed it by means of after which milk it alongside until it comes out the alternative side. Pull it by means of the opposite hole and there you go. Take away the pin and placed on.

patch a niche
Have a niche in your favorite pair of jeans? Proper right here’s how one can pretty truly, patch it up.
directions:
- Lay your garment on a flat flooring with the opening going by means of up.
- Seize a bit of scrap materials that is cut back to a measurement larger than the opening. Cut back the edges of the patch in to a spherical kind with materials scissors to cease edges from fraying. Insert the patch to the underside of the opening and pin into place.
- Thread a needle in an equivalent color and sew slip stitches throughout the perimeter of the patch.
- Flip your piece correct side out. Reinforce the stitching with smaller hand stitches after which take away the basting stitches. Be at liberty to take this to a sewing machine as properly. Rows of straight stitches work good, nonetheless you can also do zig zag in case you like. And that’s it!
So, are you ready to level out your mates how one can sew a button now? Which of these mending tutorials was your favorite? Let me know inside the suggestions!